


How to Use Sora AI Text to Video: Step-by-Step Guide
If you want to make cool clips for sharing or personal use on the Sora AI video generator, an app from the creators of ChatGPT, this guide is for you.
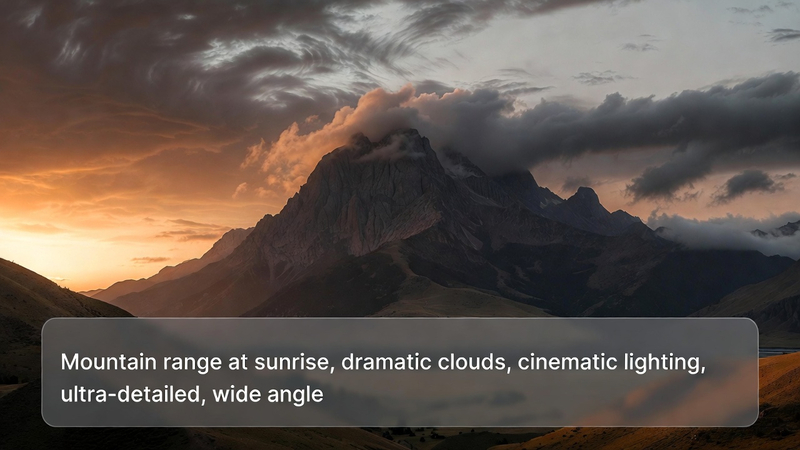
By the end of this tutorial, you'll know how to use Sora AI Text to Video feature to create your first clip, and how well the tool performs when generating different types of videos.
Create Now!Part 1. What is the Sora AI Text to Video Generation Model?
In the Sora AI text-to-video generation, you can create short videos using text prompts. These prompts can be detailed with multiple video setting options, such as aspect ratio, resolution, duration, and variations.
Sora is a paid tool. You need to be either a Plus or Pro member to access the text-to-video feature.
In addition to basic video generation from text prompts, you can use the Storyboard to create a sequence of clips within the same video and control how actions unfold. You can also use presets and remix them with your text prompts to create unique clips that can be shared and downloaded.
Part 2. Sora AI Text to Video How to Use Guide
If you want to prompt Sora to generate videos for you, here are the step-by-step instructions:
Step 1. Setting Up Sora
Go to the Sora site, and click on that login button in the top right corner. From there, you can use the username and password associated with your OpenAI or ChatGPT account.
If you don't have an account yet, click Sign Up.

Once you log in, you need to choose a paid plan because video generation is expensive. Skipping this step only allows you to view other people's videos. If you want to create videos, you need to select one of the available plans.
Step 2. Choose a Plan
The Plus plan is mostly for casual use because you are not doing any commercial work at 720p. All videos created on this plan are watermarked.
Contrary to what the plan list shows, at the time of filming, you can generate 10-second videos as long as the resolution is set to 480p.
The Pro plan is designed for more serious users. The purpose here is to help you decide whether it is worth upgrading.
At the time of writing, OpenAI had also granted unlimited relaxed videos to Plus users. This means that if you run out of credits, you can still create videos, but they will take longer to generate.
Subscribe to Plus or Pro, and let's start with something simple to create your first video.
Step 3. Write a Prompt
For Sora AI Text to Video, choose Video from the option below, click on the prompt box at the bottom of the screen, and type your prompt.
Step 4. Do Video Settings
The other menu options let you set the aspect ratio. You can choose between 16:9, 1:1, 2:3, 2:2, or 9:16.
You can also set the video quality. This is restricted by your plan. With the cheapest plan, the maximum video quality appears to be 720p. Higher video quality is available if you are on the more expensive $200 plan.
You can set the length of the video as well. By default, videos are 5 seconds long at 720p. If you lower the quality, you can generate a 10-second clip.
There is also an option to choose how many variations you want to generate. In this case, the Plus plan allows you to generate one or two versions, and in Pro, you can do 4. So, for this tutorial, select 2.
The last option is for presets. Some presets already exist, such as archival, film noir, cardboard and paper cut, whimsical stop motion, and balloon world. All of them add a noticeable effect to the videos. You can also create your own presets here.
Step 5. Generate Your Video
Now, press the Enter key or click the white arrow to submit the prompt.
Even in the relaxed queue, it takes about 30 seconds to generate two variations. Then, click on the activity window to access these two clips.
Now, both of these versions will be played automatically. You just need to press the spacebar at any time to pause the video.
Step 6. Remix, Blend, or Loop Your Generated Video
You may notice that a few things might be missing in the generated video as well, so this is a good moment to introduce something you will do often with any AI tool, which is iterating on the result.
Select a version of the video to open it on a separate page, go to the bottom of the screen, and click on the Remix button to add some ideas.
For example, you can add some other elements, like the workers being frightened in the office.
Before submitting, go through the available options, starting with remix strength. Click where it says Strong Remix. The higher the strength, the more changes are likely to appear in the video, even if those changes were not specifically requested.
Change the strength to Mild so the differences are noticeable but not excessive. It is up to you if you want to generate two or one version of the remixed clip. Then, click Remix.
Now, a new video will be queued. Once the process is complete, click the notification to access the remixed video. Alternatively, click the X in the top left corner, select the OpenAI logo, and click My media in the left menu to access all your text-to-video generations.
The result?
The remix strength was increased to the maximum setting of eight, and the prompt was changed to add office workers cowering in fear. Looking at the results, the room layouts are again quite different, and there are more office workers present, but the sense of fear does not come through as clearly as intended. So, you may need to prompt Sora to get the result you need.
The Blend option creates a transition between your generated video and another video. This can be either a video you upload or a video you created with Sora.
The Loop option makes your video play continuously. However, the clip needs to be trimmed slightly to keep it under 5 seconds for looping. This feature appears to adjust the start and end so they play seamlessly together.
Step 7. Save and Organize Your Videos
If you like one of the videos you created and want to save it, look at the icons in the top right-hand corner.
You can add the AI-generated video to your favorites list, share it with others using a link, download it to your desktop, or add it to a folder, which works as a way to organize your favorites.
Head back to your home screen, and congratulations, you've just generated your first set of videos.
You can view your favorites by clicking on the Favorites link in the left sidebar. You can also create folders by clicking New Folder on Sora's main interface.
Part 3. Sora AI Text to Video: How to Use Storyboard
Storyboard is an advanced editing creation tool in Sora, which you can use with Text to Video. It gives you control to direct actions in a sequence across a familiar timeline. You can reach it by clicking the storyboard button, which is in the right corner of the prompt box.
At the top of the storyboard, you'll see caption cards. This is where you prompt by describing the setting, characters, and action you want to occur at a particular point in the clip. Below that is a timeline where you can sequence your actions over time. Below are the same video settings to set the aspect ratio, duration, resolution quality, and the number of versions you want.
Create Scenes in Caption Cards
Let's start by setting the scene. For example, you may want to see a deer drinking water at the edge of a river, the herd of deer behind is showing nervousness and fear, and suddenly, a crocodile pulls it underneath the water.
In the first card, describe the first action, which is the deer drinking the water. Then, click the next card from the timeline and describe the scene of a herd of deer behind, suddenly showing nervousness and fear.
Again, select a card and describe the final scene about the crocodile.
Review Settings and Output
Now, do all the settings for the video, like setting the aspect ratio and the other options. Once that is set, you can go ahead and create the video. The result shows that a deer is drinking the water at the edge of the river, the herd is nervous back there, and then a crocodile attacks.
In the lightbox, you can always review the exact cards from the storyboard and see where they were placed along the timeline. If needed, you can revise the storyboard and create new videos by tweaking the description, the storyboard cards, or the placement and sequencing of the actions.
That is how you use the storyboard in the Sora AI video generator using text prompts.
Understanding Card Spacing
Looking back at the timeline, you'll notice there is space between the first card and the second card. That space is important to preserve because it gives Sora time to connect the first set of actions with the second set.
Moving the cards too close together might make Sora create hard cuts in the clip because it does not have the chance to smoothly combine the two scenes. Moving the cards too far apart gives Sora more time to imagine, which might result in more details than you want appearing between the two actions.
So, finding the right pacing is important to make the results as refined as possible.
Part 4. Realism & Trial and Error In Sora AI Text to Video
The quality in Sora can, at times, be more realistic than what other video-generating AIs have been able to produce. However, this comes at the cost of Sora often doing whatever it wants without fully following the prompt.
It seems to perform better when the prompt describes something similar to stock footage. This suggests that Sora may have been trained heavily on stock footage, which could explain why it handles those scenarios more effectively.
Animals tend to come out quite well, especially when they are doing things that humans usually do. Even so, it's not perfect yet. You can get some nice results occasionally, but the process feels very trial-and-error. In the example above, the deer was not pulled under the water as intended.
You can experiment with different text prompt lengths and techniques, but you'll find that most of the results are not fully satisfying.
However, the relaxed mode becomes very useful for practicing prompts. Other video generation AIs tend to become expensive when doing this kind of trial and error, since they rely on limited credits and require payment once those run out. They usually don't offer a slower, free option.
Overall, Sora text-to-video AI is still a long way from being perfect all the time. For now, you need to develop strong prompting skills to achieve good and meaningful results.
Part 5. FAQs of Using Sora AI Text to Video
Q1. Can I use Sora text to video?
A1. Yes, you can use OpenAI's Sora to generate videos from text, though access is primarily for authorized users. It creates highly detailed, up to 1080p, 20-second clips, with newer versions (Sora 2) supporting longer, AI-powered video, audio, and camera adjustments.
Q2. Can you make AI videos on Sora for free?
A2. No, you cannot generate or make AI videos on Sora for free. You have to be on a Plus plan to create videos from text and images in 480p or 720p resolution with a 5 to 10-second video duration. On a Pro plan, you can choose a higher resolution and create longer clips.
Q3. Can I post Sora AI videos on YouTube?
A3. According to YouTube's guidelines, creators can upload Sora AI videos but must label realistic content made with synthetic media, particularly for sensitive subjects. While a watermark often indicates AI generation, YouTube's CEO has stated that using YouTube content to train Sora violates their terms of service, though this does not prohibit uploading Sora-created videos.
Conclusion on Using Sora AI Text to Video
In this Sora AI Text to Video how to use tutorial, you've figured out that the whole experience feels hit or miss. You may have seen better results from other video generators. Sora does handle realism fairly well, but there is still a lot of room for improvement.
If you want to use this as a replacement for stock footage, be prepared to make multiple attempts before getting a result you are satisfied with.
There was some disappointment with how quickly the credits ran out. So, you need to make time to fully understand how to prompt in a way that produces strong results. The relaxed option is helpful, as you can test different versions of the same prompt and come up with the best possible result.


Home > Learn > How to Use Sora AI Text to Video: Step-by-Step Guide
Select the product rating:
Natalie Carter
Editor-in-Chief
My goal is to make technology feel less intimidating and more empowering. I believe digital creativity should be accessible to everyone, and I'm passionate about turning complex tools into clear, actionable guidance.
View all ArticlesLeave a Comment
Create your review for HitPaw articles