


How to Perfect Color Grading in Premiere Pro for Stunning Videos
Color grading is a fundamental aspect of video editing that translates raw footage into cinematic visuals. This enhances the video's storytelling through its mood, beautifies aesthetics, and keeps color tones consistent. Among the best tools for color grading, Premiere Pro stands out as a top choice. This guide will help you master the art of color grading in Premiere Pro, whether you are an amateur or a seasoned editor.
Part 1: What Is Color Grading in Premiere Pro?
Color grading alters and enhances a video's colors to achieve a specific aesthetic or mood. Unlike color correction, which aims to restore balanced color relations, color grading demands artistic choices between warm and dramatic color tones for expressive visual effects in movies. It provides detailed color grading options, such as Lumetri Color, where the editors adjust exposure, contrast, saturation, and color balance for accuracy.
Pros and Cons of Color Grading in Premiere Pro
Pros:
- Comprehensive Tools: Premiere Pro includesa wide set of tools, including Lumetri Color, curves, and scopes, with which adjustments can be made quite accurately.
- Creative Flexibility: The program supports LUTs or Look-Up Tables, making it easy to apply professional-grade looks.
- Seamless Workflow: Integrates with Adobe Creative Cloud to ensure smooth workflow between Effects and Photoshopapps.
Cons:
- Steep Learning Curve: New users might struggle with the complex functionality.
- High System Requirements: Color grading consumesmany system resources; a computer that would run it efficiently should be good.
Part 2: Step-by-Step Guide to Color Grading in Premiere Pro
Mastering color grading requires a good understanding of color theory and knowledge of the main tools found in Premiere Pro. Below are the most important steps for perfect color grading Premiere Pro and creative visual styles.
Step 1: Access the Lumetri Color Panel
You can access the Lumetri Color panel by selecting Window > Lumetri Color. This panel contains all the essential tools for color grading, making it a seamless workspace for adjustments.

Step 2: Apply Basic Correction
Start by making base correction adjustments in the Basic Correction section. Use the tab's temperature, tint, and exposure settings to balance out your footage at its outset.
Step 3: Add Creative Looks
Use the Cinematic LUTs in the Creative section to add distinctive, on-set tones to your footage. Suggestively roll up the intensity slider for a deeper, professional look and layer it with other creative grading effects.
Step 4: Add Contrast with Curves
Use the RGB Curves to add contrast. Reduce shadows and increase highlights to create an S-curve. To make fine-tuned adjustments, use the HSL Curves to control saturation within specific color ranges.
Step 5: Match Color Tones
Use the Color Wheels & Match feature to keep colors consistent across frames. Compare a reference frame and a current frame side-by-side, then click "Apply Match" to align the color tones.
Step 6: Isolate Specific Hues
Target specific colors with the HSL Secondary tool. Select hues using the eyedropper or color swatches, and make adjustments to refine saturation, hue, and brightness while leaving other colors untouched.
Step 7: Shape Focus with Vignettes
Applying a vignette can add depth and focus. Under Effect Controls, you can customize settings like amount, midpoint, and feathering to draw attention to your subject.
Step 8: Export the Graded Video
Once satisfied with your color grading, finalize the project by exporting it through File > Export > Media. Choose your preferred format and resolution for a polished, shareable video.
Part 3: Advanced Tips for Professional Color Grading
A real professional who does color grading will transform your footage into a cinematic work of art. Basic quality fixes remain important, but more advanced methods enable the creation of exact and inventive visual outcomes. Today, I'll show you several professional, highly advanced strategies to elevate your color grading Premiere Pro beautifully:
Utilize Scopes Like Waveform and Vectorscope for Accuracy
Scopes are essential tools for ensuring accurate and consistent color grading.
- Waveform Monitor: This scope allows youto view the intensity or brightness of your imagery. It presents you with a graphic, with X representing the image width and Y representing your brightness levels. You can use it to check for over-exposed highlights or under-exposed shadows.
- Vectorscope: This tool measures color saturation and hue. Itis particularly useful for ensuring skin tones remain natural, as they should align along the skin tone line on the vectorscope.
These scopes enable you to accurately fine-tune exposure, contrast, and color balance to make your video look fine and professional.
Save Custom Looks as Presets for Future Projects
Creating perfect looks requires effort, so apply color grading to multiple clips in Adobe Premiere Pro and preserve them as presets to streamline your photo or video editing workflow.
- Open Lumetri Color and navigate to the three-dot menu atthe top right corner. This menu allows you to save presets. Go to the top right and click on the three-dot menu; select Save Preset.
- Name the preset and decide if you want to save specific effects, such as curves, color wheels, or vignette settings.
The best use of these presets lets you achieve a similar look from many projects, saving time and effort while still keeping up with your creations.
Experiment with Curves and Color Wheels for Cinematic Tones
Color grading on Premiere Pro relies heavily on tools like curves and color wheels to achieve subtle and dramatic looks.
- Curves: Use the RGB curves to adjust highlights,mid-tones, and shadows within individual color channels during A gentle S-shaped curve to your footage will boost the contrast level by increasing cinematic and dramatic impact.
- Color Wheels: Through the shadow-midtone-highlight color wheels,you can modify color tonality in specific segments of your recorded vision. To achieve traditional teal-and-orange color combinations, shift your shadows toward teal and your highlights toward orange.
Experiment with these tools; you can create all the moods and styles, from warm and cozy to cool and dramatic. These will help to lift the storytelling value of your videos.
Part 4: Bonus Tool - HitPaw Online Video Enhancer for Video Color Grading
HitPaw Online Video Enhancer is an all-purpose AI-powered enhancer that provides easy video quality enhancement with minimal effort. Besides enhancing color grading in Premiere Pro, this add-on streamlines the process with AI-powered upscaling for sharper images, efficient noise removal for a polished look, and precision detailing to ensure accuracy in color enhancement. It provides an intuitive interface that is user-friendly for beginners and professionals; hence, the experience is fluent.
Key Features of HitPaw Online Video Enhancer
- AI-Powered Enhancement: Time and effort are saved because the software instantly enhances video quality and adjusts the color tones using advanced AI technology.
- Upscale Resolution: The video resolution is smoothly enhanced to 4k without reducing image quality.
- Noise Reduction: Removes unwanted noise and pixelationto give your videos a smoother and professional finish.
- Detail Refinement: Enhance small details like textures and edges, giving visual clarity.
- User-Friendly Interface: The software design includes an intuitive interface thatenables users at every skill level to work effortlessly.
How to Use HitPaw Online Video Enhancer
Step 1:Visit the HitPaw Online Video Enhancer site, then click the "Upload Video" button to upload the video you want to enhance.
Step 2:Your video will begin uploading once you've selected it. Depending on the size, the upload process may take a moment.
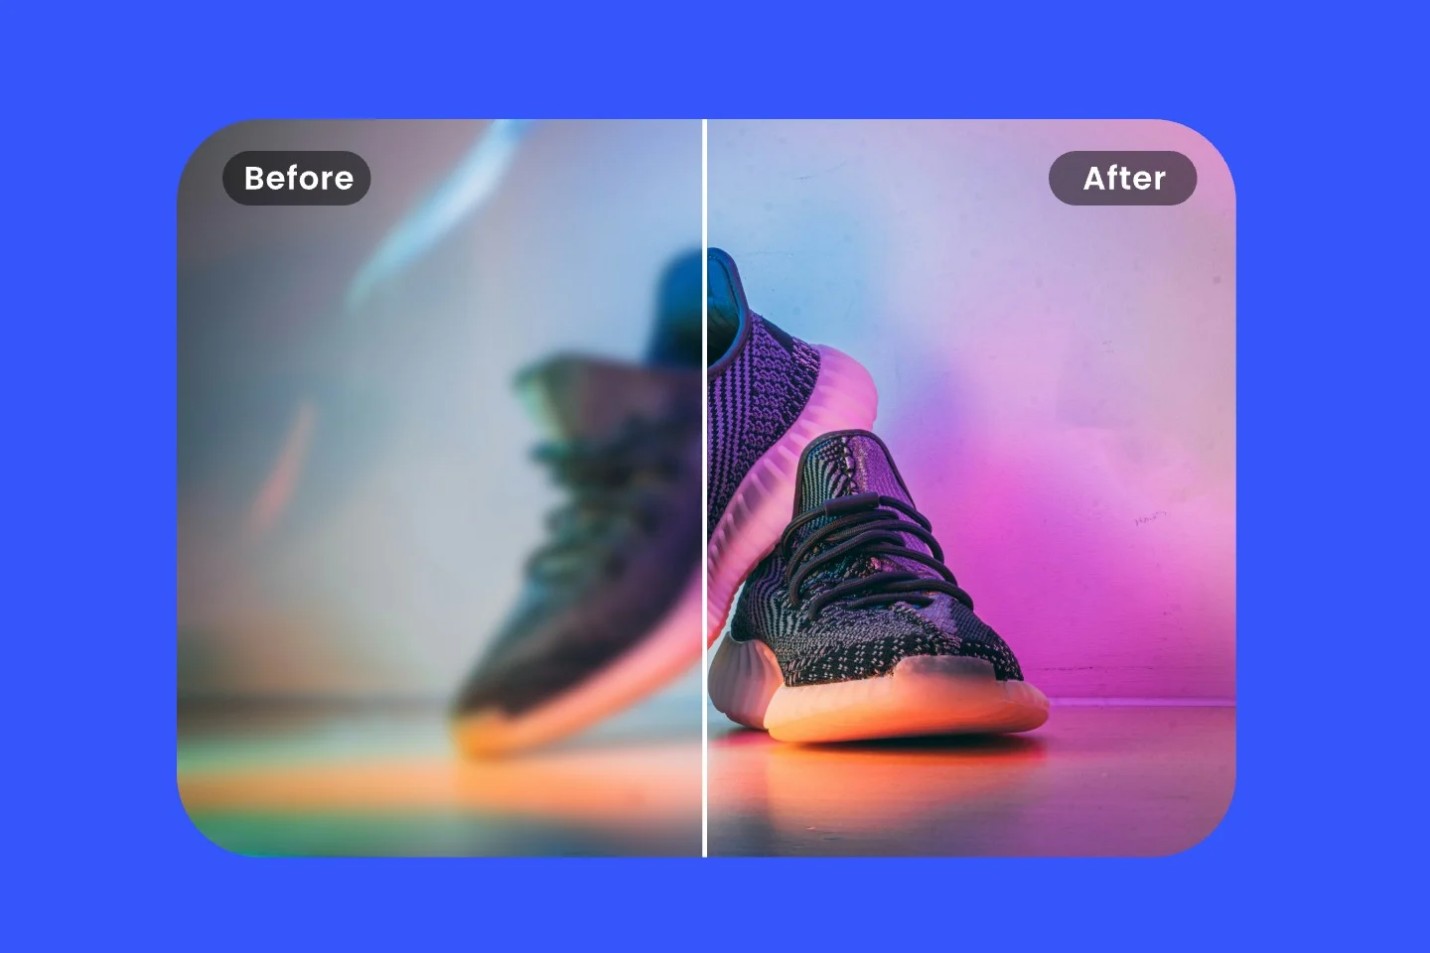
Step 3:After uploading the video, you can compare the original video with the enhanced version created by HitPaw AI. Check out the improvements in clarity and detail.
Step 4:Once satisfied with the enhanced video, simply click "Download" to save it to your device. The improved version is ready to use!
Part 5: FAQs About Color Grading in Premiere Pro
Q1. Can beginners easily learn color grading in Premiere Pro?
A1. Yes, Lumetri Color is also user-friendly. Some are beginner-friendly; thus, the beginner would have no trouble handling this video editor quickly after taking tutorials or practices.
Q2. How do LUTs improve color grading in Premiere Pro?
A2. LUT is a color preset that enables easy, repeatable, and time-saving color grading in Premiere Pro. These presets are highly effective for achieving specific film styles.
Q3. What are the key advantages of HitPaw Online Video Enhancer over Premiere Pro for grading color?
A3. HitPaw Online Video Enhancer makes color grading easy and accessible, especially for users who need effective and fast quality without tedious manual settings.
Conclusion
Therefore, mastering the color grading Premiere Pro requires technical skills and artistic vision. This guide will help you to improve your video with cinematic visuals to capture your audience. To further your convenience and efficiency, you can refine it through the HitPaw Online Video Enhancer for effortless refinement of your footage. In other ways, these tools will make your projects terrific for your audience.
Try It Now!


Home > Learn > How to Perfect Color Grading in Premiere Pro for Stunning Videos
Select the product rating:
Natalie Carter
Editor-in-Chief
My goal is to make technology feel less intimidating and more empowering. I believe digital creativity should be accessible to everyone, and I'm passionate about turning complex tools into clear, actionable guidance.
View all ArticlesLeave a Comment
Create your review for HitPaw articles